DSLR Scavenger Hunt
1. Safety tips most surprising:
2. Mode Dial- On the top of the camera with different images for the setting. in the general area of the power button.
On/off- The switch around the silver button on the top right hand side of the camera near the mode dial.
Shutter release- The silver button in the center of the on/off switch.
Exposure compensation-The little button on the right hand side of the top of the camera with a plus and minus sign in a
square on the top of the button.
Flash button- On the left hand side of the camera, the small top button with an arrow facing downward.
View finder- Above the screen on the face of the camera right below the flash popup.
Menu, multi selector/ok- On the right side of the camera by the screen. Multi selector is with arrows surrounding the OK
button.
Memory card slot cover- On the side of the camera next to the OK button.
Battery cover-On the bottom of the camera under the multi selector, to the right of the tripod socket.
Tripod socket-Absolute bottom of the camera.
3. The A/M button controls the automatic or manual ability focus.
4. Delete all images on the camera- Go to the menu and select "delete".
Set the Image Quality to JPEG Fine-Under the play image select the camera image, select image quality, then select JPEG
fine.
Set the Image Size to Large-Go to the menu, under the play image select the camera image, select image size, then select
"large".
Set the Mode dial to Auto- Turn the mode dial so that the small dash outside of it is pointing towards the green camera that
says "auto" above it.
Turn the auto Flash Off- Turn the mode dial so that the small dash outside of it is pointing towards the lightning symbol.
Set exposure compensation to +/- 0- hold the exposure compensation button and turn the AV dial until the number the bottom right hand corner is at 0.
Check battery charge. If 1 bar or less replace battery- If there is one bar or less, you will know the battery is low
because on the screen there is a battery image at the top right corner with three bars. If there is only one bar highlighted yellow,
that means there is only one bar left.
Set the lens to A- Turn the mode dial so that the small dash is outside of it is pointing towards the A.
- Keep the sun out of the frame
- Do not look at the sun through the viewfinder
- Do not disassemble
2. Mode Dial- On the top of the camera with different images for the setting. in the general area of the power button.
On/off- The switch around the silver button on the top right hand side of the camera near the mode dial.
Shutter release- The silver button in the center of the on/off switch.
Exposure compensation-The little button on the right hand side of the top of the camera with a plus and minus sign in a
square on the top of the button.
Flash button- On the left hand side of the camera, the small top button with an arrow facing downward.
View finder- Above the screen on the face of the camera right below the flash popup.
Menu, multi selector/ok- On the right side of the camera by the screen. Multi selector is with arrows surrounding the OK
button.
Memory card slot cover- On the side of the camera next to the OK button.
Battery cover-On the bottom of the camera under the multi selector, to the right of the tripod socket.
Tripod socket-Absolute bottom of the camera.
3. The A/M button controls the automatic or manual ability focus.
4. Delete all images on the camera- Go to the menu and select "delete".
Set the Image Quality to JPEG Fine-Under the play image select the camera image, select image quality, then select JPEG
fine.
Set the Image Size to Large-Go to the menu, under the play image select the camera image, select image size, then select
"large".
Set the Mode dial to Auto- Turn the mode dial so that the small dash outside of it is pointing towards the green camera that
says "auto" above it.
Turn the auto Flash Off- Turn the mode dial so that the small dash outside of it is pointing towards the lightning symbol.
Set exposure compensation to +/- 0- hold the exposure compensation button and turn the AV dial until the number the bottom right hand corner is at 0.
Check battery charge. If 1 bar or less replace battery- If there is one bar or less, you will know the battery is low
because on the screen there is a battery image at the top right corner with three bars. If there is only one bar highlighted yellow,
that means there is only one bar left.
Set the lens to A- Turn the mode dial so that the small dash is outside of it is pointing towards the A.

Full Sun
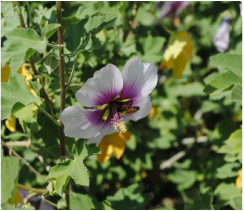
Nature Close-Up
|

Shade
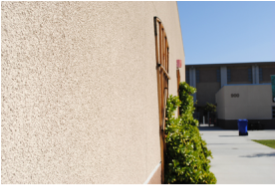
Industrial Elements
|
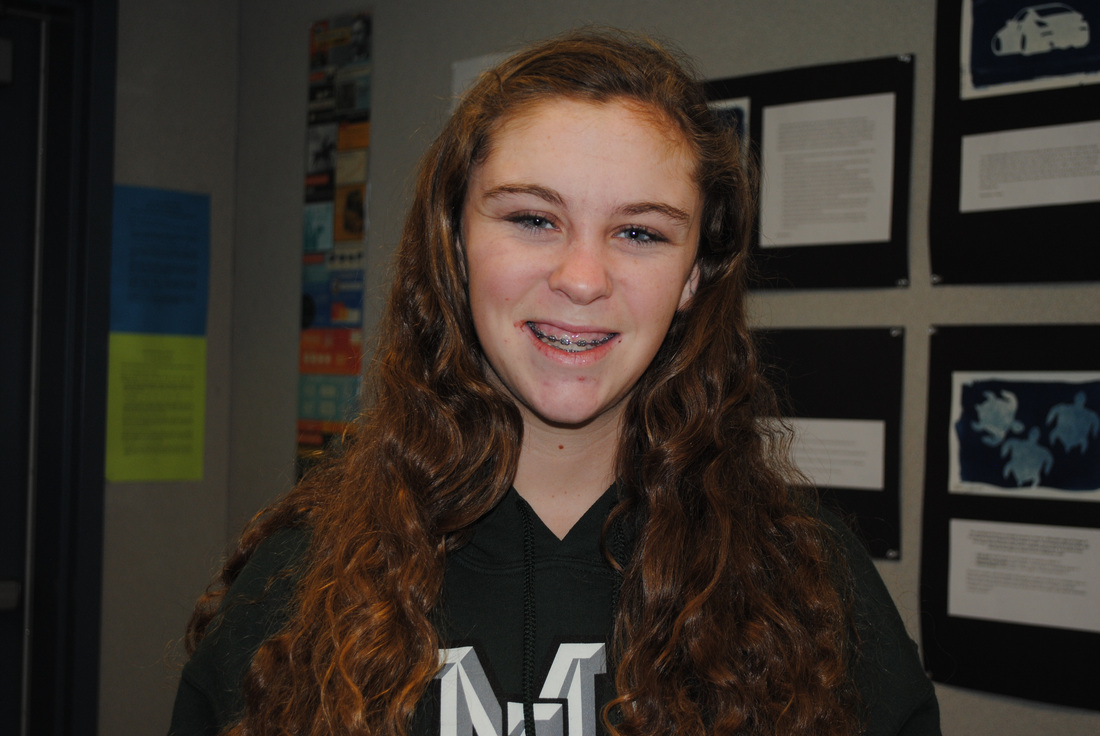
Inside
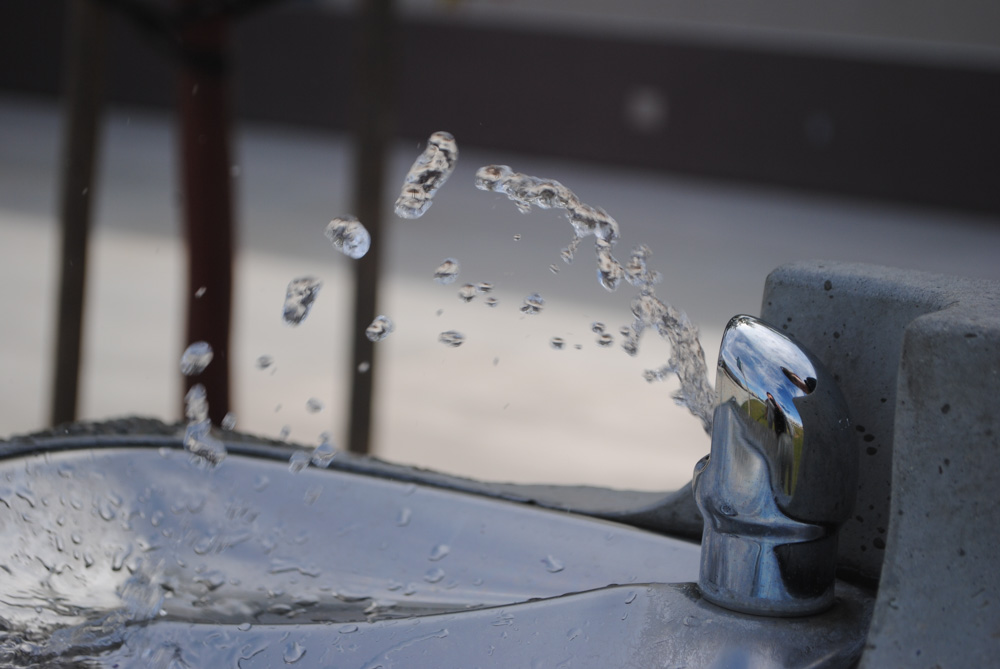
Abstract
|
